|
May 01, 2024
|
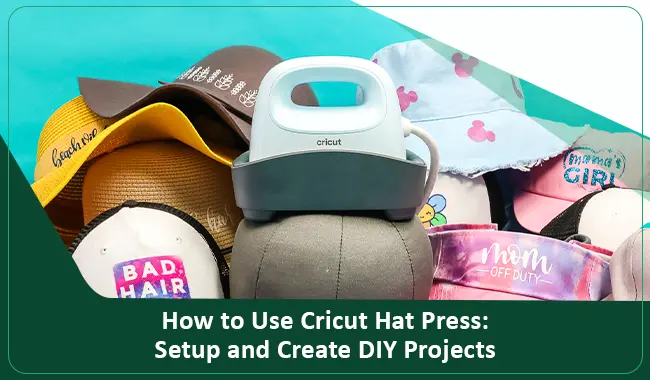
Welcome to this blog! Here, you will learn how to use Cricut Hat Press to complete the process. I will help you understand the key points of using the Cricut Hat Press, setup, and method to create custom projects. I have been working as a Cricut crafter for around 5 years, and I have enough knowledge of all the machines and tools offered by Cricut. Plus, using the Cricut machine, I have made a plethora of crafts for personal and professional use.
If you are also curious to understand the process of how to use a Cricut Hat Press, then I’ve shared everything you need. So, check out the blog for creating your first DIY project using the Cricut machine.
Setup Your Cricut Hat Press on a Mobile Device
Before you learn how to use Cricut Hat Press, let’s take a look at how to complete the machine’s setup process.
After unboxing your Cricut Hat Press machine, connect it to a power outlet.
Next, turn on the device by clicking on the Temperature button on the machine.
Once the machine is ON, the Power/Temperature button starts to flash.
On your smartphone, download and install the Cricut Heat app.
After downloading the app, please open it and sign in with your Cricut account. (Create a new Cricut ID if you do not have one.)
After that, the machine uses its Bluetooth Lite technology to pair to your smartphone automatically.
In the next step, open the Cricut Heat app and click the Sign Up option.
Moreover, it will search for your device and show it on the screen.
You need to tap on the Connect button to complete the setup.
Afterward, you will see the ‘Connecting to Hat Press’ notifications on the screen.
Next, click on the Terms and Conditions checkbox and then select the Activate option.
Finally, the Cricut Hat Press setup process will be complete.
What Supplies Do You Require to Use Cricut Hat Press?
Before we move to how to use Cricut Hat Press, it is crucial to acquire the essential supplies and materials you need. These are the essential supplies you should have to create a project with your Cricut Hat Press.
Cricut Hat Press
Cricut Heat app
Strong Heat Tape (you want the robust version to be able to hold down the designs on the curved surface)
Infusible Ink Sheets
Butcher Paper
Weeding tools
Sublimation printer
Iron-on
Sublimation paper
Lint Roller
Cricut cutting machine, and others.
In addition, the supplies can differ depending on the Hat material or type you use to create a DIY project.
How to Use Cricut Hat Press to Make a DIY Project?
Once you have gathered all the materials, move to the process of using Cricut Hat Press to create a project.
Step 1: Create a Hat Design
For the first step, open the Cricut Design Space app on any device.
Then, click on the (+) icon to open a new canvas.
After that, upload a new design or create a unique design using the images, fonts, and ready-to-make projects.
Next, when the design is complete, please send it to any Cricut cutting machine to complete the cut. (I am using a Cricut Maker for cutting the design.)
For cutting the design, you need to load the iron-on vinyl material on a mat and load the machine.
Select the Make It option on the app to start the cut.
In the last step, the cut will start.
Step 2: Complete Your Design
When the design is cut completely, go to the Cricut Heat app to preheat.
After that, press the Go button and move the machine back and forth for a few seconds.
Next, put the design on the hat and then place butcher paper on top of that.
Select the material in the app to see the right temperature and timer.
For my project, apply the heat on the hat with Cricut Hat Press for around 60 minutes.
When the time is complete, you will hear the beeping sound, then remove the butcher paper.
Finally, your design will be complete.
Frequently Asked Questions
Q.1 What Type of Hats Does the Cricut Hat Press Machine Work With?
Here are some different types of hats you can use with the Cricut Hat Press machine to create customized DIY projects.
Cotton Visor
Cricut Trucker Hat
Polyester caps
Graduation cap
Cotton Visor
Wide-brim straw hat
White beach hat
Brown felt hat
Bucket Hat
Structured Hats
Cotton ball cap
Yellow beach hat
Brown felt hat.
Also, to create the design, you can use a variety of materials such as iron-on vinyl, sublimation, infusible ink, HTV, and others.
Q.2 What Are the Supplies Required to Create and Use a Cricut Hat Press?
These are the supplies you require if you want to learn how to use the Cricut Hat Press machine.
Cricut Hat Press machine
Heat Tape (You want the stronger version to be able to keep up with the designs)
Cricut Heat app
Lint Roller
Cricut cutting machine
Infusible Ink Sheets
Iron-on
Sublimation paper
Infusible Ink Markers
Sublimation ink
Weeding tools, and others.
Also, the tool requirements vary according to the project and design you choose to create with your Cricut Hat Press machine.
Q.3 How to Use Cricut Hat Press Machine?
Here, learn the full procedure of Cricut Hat Press how to use it to create a project.
For the first step, you have to connect the machine plug to a power source.
On your smartphone, download the Cricut Heat app to complete the setup.
Open the heat app after downloading it and sign in with your account.
Next, select the machine to complete the setup.
In the Cricut app, create a design and cut it using any cutting machine.
Next, place the design on your desired hat and apply the heat by Cricut Hat Press.
Finally, the custom hat project will be completed.
Source URL: – How to use Cricut Hat Press